
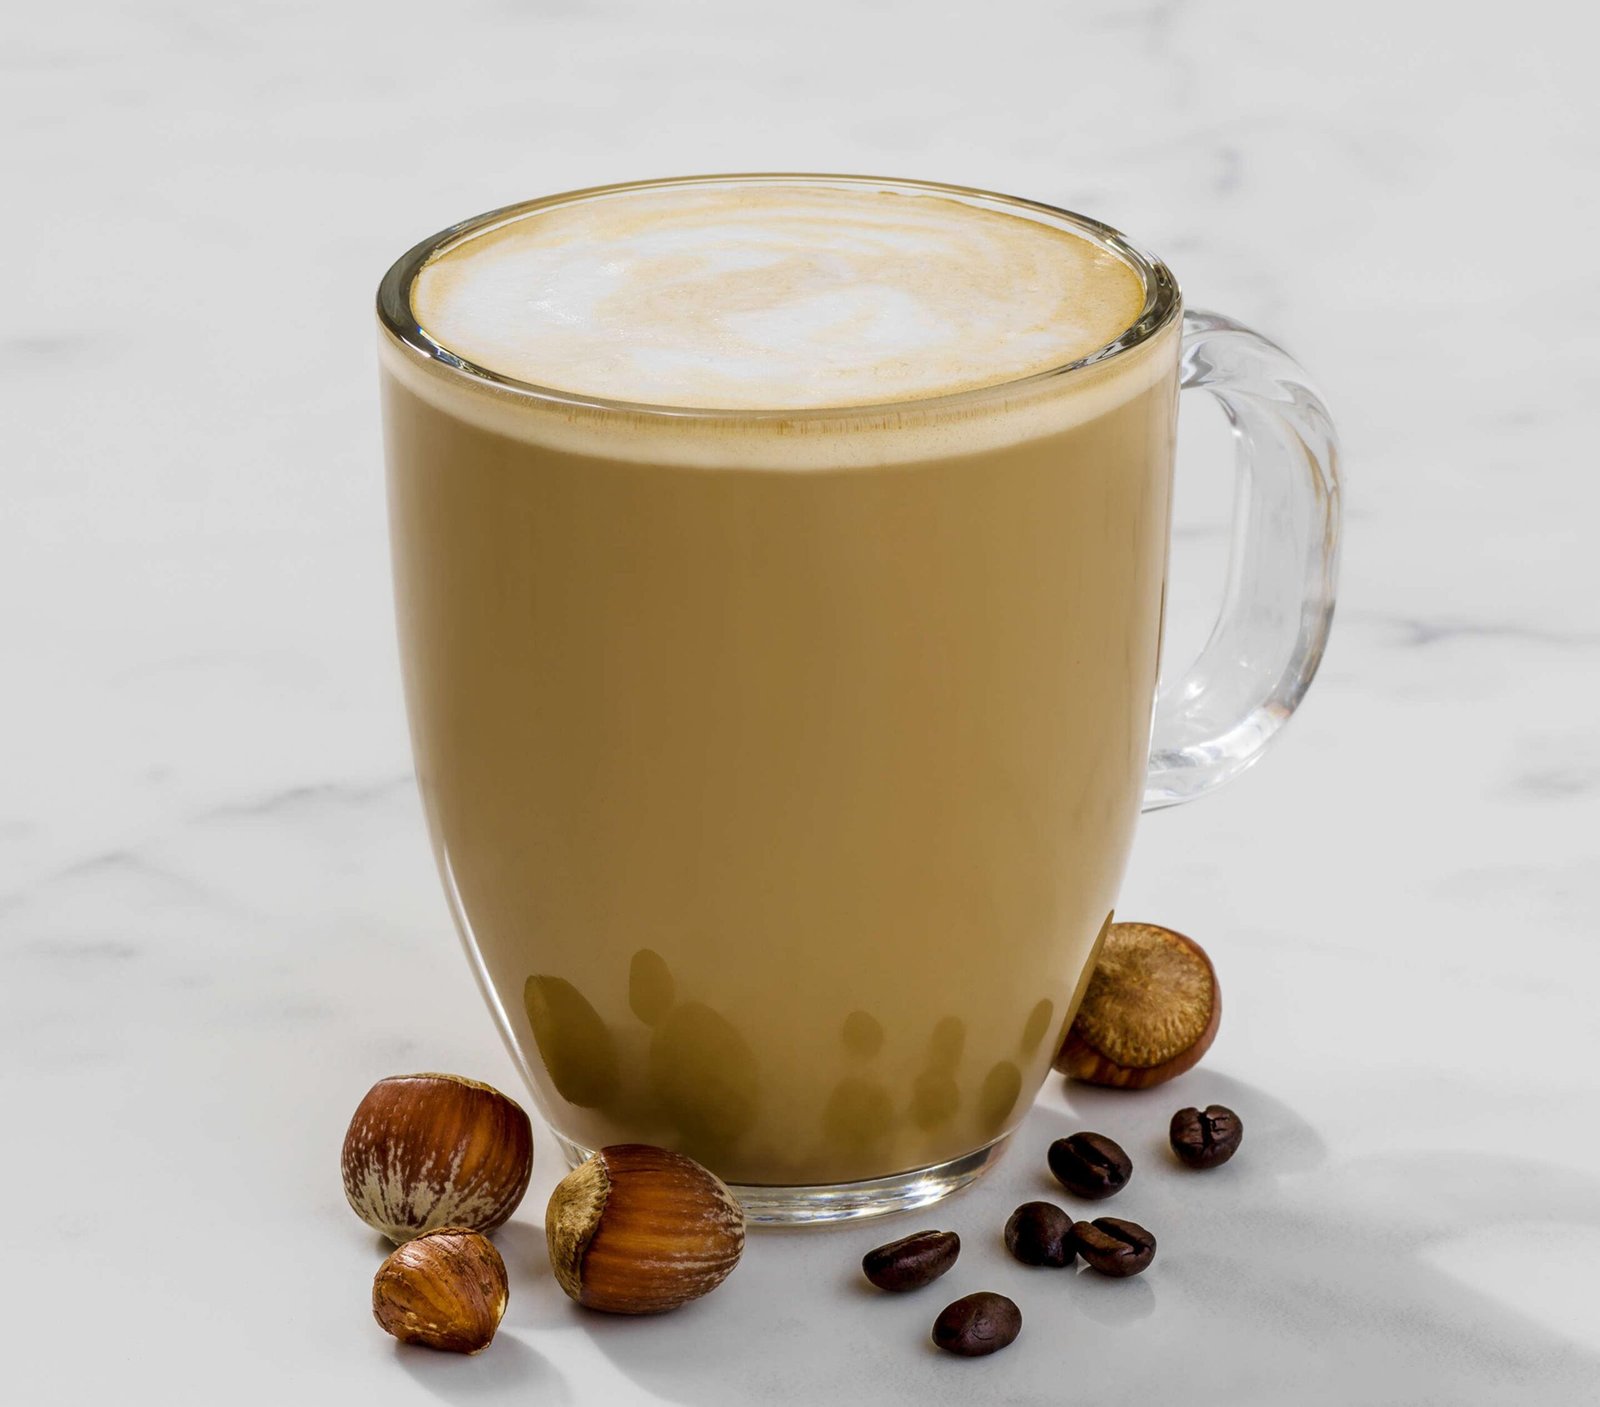
The Art of Cold Brew Coffee and How to Craft the Perfect Batch
Cold brew coffee is a method of brewing coffee in which coarse coffee grounds are steeped in cold or room-temperature water for an extended period, typically 12 to 24 hours. This slow extraction process results in a coffee concentrate that is later diluted with water or milk before serving. Cold brew coffee is known for its smooth, less acidic flavor profile and is often served over ice.
Here’s a basic overview of how cold-brew coffee is made:
- Coarse Grinding: Coffee beans are coarsely ground to maximize surface area and facilitate the extraction process.
- Steeping: The coarsely ground coffee is combined with cold or room-temperature water in a container. The coffee and water mixture is left to steep for an extended period, allowing the flavors to slowly extract from the coffee grounds.
- Straining: After the steeping period, the coffee grounds are filtered out. This can be done using a fine mesh sieve, cheesecloth, or a specially designed cold brew coffee maker.
- Dilution and Serving: The resulting coffee concentrate is often diluted with water, milk, or a milk alternative before serving. It can be poured over ice and sweetened according to individual taste preferences.
Key characteristics of cold brew coffee include:
- Smooth Flavor: Cold brew coffee tends to have a smoother, less bitter taste compared to traditional hot-brewed coffee. The slow extraction process results in a milder and less acidic beverage.
- Strength: Cold brew is typically more concentrated than regular coffee, so it’s often diluted before consumption.
- Refreshing Quality: Served over ice, cold brew is a popular choice for a refreshing and energizing cold coffee beverage, especially during warmer weather.
Cold brew coffee has gained popularity for its unique taste and the ability to highlight the nuanced flavors of different coffee beans. It has become a staple in many coffee shops and is also commonly made at home by coffee enthusiasts.
The Art of Balancing Espresso and Microfoam
A flat white is a popular espresso-based coffee drink that originated in Australia or New Zealand, and its precise origin is a matter of debate between the two countries. It’s characterized by the combination of espresso and steamed milk, creating a beverage with a velvety microfoam on top.
Here’s how a flat white is typically made:
- Espresso Shot(s): A standard flat white consists of one or more shots of espresso. The number of shots may vary based on personal preference and the size of the drink.
- Microfoam: The distinguishing feature of a flat white is its microfoam. Microfoam is steamed milk with very fine, velvety bubbles, creating a smooth and creamy texture. The milk used in a flat white is typically steamed to a temperature that enhances its sweetness.
- Pouring Technique: The microfoam is poured over the espresso shots using a specific pouring technique. The goal is to create a balanced ratio of coffee to milk, with the creamy microfoam blending seamlessly with the espresso.
The result is a coffee beverage that is stronger than a traditional latte due to the higher coffee-to-milk ratio and smoother than a cappuccino because of the velvety microfoam.
The flat white has gained popularity in various parts of the world and is often appreciated for its rich flavor, strong coffee kick, and silky texture. It has become a staple on the menu of many coffee shops and is enjoyed by those who prefer a balance between the intensity of espresso and the creaminess of steamed milk.
Macchiato Magic: A Guide to the Art of Crafting and Enjoying This Espresso Marvel
In the diverse world of coffee, the macchiato stands out as a small yet mighty powerhouse, capturing the essence of simplicity and boldness in a single cup. Originating from Italy, the term “macchiato” translates to “stained” or “spotted,” signifying the addition of a touch of milk to a shot of espresso. Join us as we explore the charm of the macchiato and guide you through the steps to master the preparation of this nuanced and satisfying coffee creation.

At the heart of a macchiato is a foundation of pure and unadulterated espresso. Typically consisting of one or two shots, the espresso in a macchiato is robust and concentrated, allowing the rich flavor of the coffee beans to shine through. What distinguishes a macchiato is the addition of a small amount of milk. The purpose is not to dilute the espresso but to add a subtle creaminess and balance to the flavor profile. The milk is steamed to create a microfoam, creating a velvety texture without overshadowing the boldness of the espresso.
1. Espresso Extraction: Begin by pulling one or two shots of espresso using your preferred espresso machine. The quality of the espresso is paramount, so choose a high-quality coffee bean and ensure a fine grind for optimal extraction.
2. Steaming the Milk: Steam a small amount of milk to create a microfoam. The ideal temperature for steamed milk in a macchiato is around 150–160°F (65–71°C). Aim for a smooth and velvety texture that complements the intensity of the espresso.
3. Assembling the Macchiato: Pour the shots of espresso into a demitasse cup. Using a spoon to control the flow, gently add a small amount of steamed milk to the espresso. The goal is to create a “stain” or “mark” on the espresso, enhancing its richness without overwhelming it with milk.
Serve your macchiato in a small cup, allowing the contrast between the dark espresso and the light stain of milk to be visually appreciated. The result is a small but mighty beverage that balances the boldness of espresso with a hint of creaminess. For a sweet twist, consider adding a drizzle of caramel syrup on top of the microform. Infuse the steamed milk with a touch of vanilla syrup for a fragrant and flavored macchiato.
The macchiato is a testament to the beauty of simplicity in the world of coffee. Crafting the perfect macchiato at home allows you to savor the boldness of espresso with a subtle touch of creaminess. So, embrace the art of macchiato-making, experiment with variations to suit your taste, and revel in the delightful simplicity of this espresso marvel – a small but powerful statement in a cup.
Cappuccino Craftsmanship: A Guide to Preparing and Savoring the Perfect Cup
In the world of coffee, the cappuccino stands as a timeless and elegant classic, celebrated for its harmonious balance of bold espresso, velvety steamed milk, and a crown of airy foam. This beloved Italian creation has transcended its cultural origins to become a global favorite, offering a luxurious and comforting experience with every sip. Join us as we explore the artistry of cappuccino and guide you through the steps to master the preparation of this iconic coffee indulgence in the comfort of your own home.

Espresso Excellence: At the core of a cappuccino lies a foundation of rich and intense espresso. Traditionally, a cappuccino is made with one or two shots of espresso, providing a robust and concentrated coffee flavor. The quality of the espresso is paramount, as it sets the stage for the layers of flavor to follow.
Steamed Milk Mastery: The second layer of a cappuccino is velvety steamed milk. The milk is steamed to create a creamy and luxurious texture, enhancing the overall sweetness of the drink. The goal is to achieve a consistency that complements the boldness of the espresso without overpowering it.
Frothy Foam Finale: What defines a cappuccino is the addition of frothy foam. This foam is created by aerating the milk during the steaming process, incorporating microbubbles that give the cappuccino its signature airy texture. The foam is then carefully poured over the espresso and steamed milk, creating a crown on top of the cup.
Mastering the Cappuccino Preparation
1. Espresso Extraction: Begin by pulling one or two shots of espresso using your preferred espresso machine. The grind size and quality of coffee beans play a crucial role in the extraction process, influencing the depth and richness of the espresso.
2. Steaming the Milk: Steam the milk until it reaches a creamy and velvety consistency. The ideal temperature for steamed milk is around 150–160°F (65–71°C). Focus on creating a smooth, consistent texture that will blend seamlessly with the espresso.
3. Frothing the Foam: Continue steaming the milk to create frothy microfoam. The foam should have a light, airy consistency with a glossy appearance. This frothy foam is the finishing touch that elevates the cappuccino to a new level of indulgence.
4. Assembling the Layers: Pour the steamed milk over the espresso, holding back the foam with a spoon. Once the cup is nearly full, spoon the frothy microfoam on top. The result should be a harmonious combination of espresso, steamed milk, and a cloud-like layer of foam.
Serve your cappuccino in a pre-warmed cup to maintain its temperature. The layered effect of the cappuccino not only adds to its visual appeal but also ensures that each sip is a balanced blend of rich espresso, creamy steamed milk, and airy foam.
The cappuccino, with its delicate layers and perfect harmony of flavors and textures, is a testament to the artistry of coffee preparation. Crafting the perfect cappuccino at home allows you to savor the luxurious experience of this iconic beverage. So, embrace the precision of cappuccino-making, experiment with ratios to suit your taste, and revel in the indulgence of a well-crafted cappuccino – a symphony in a cup.
Indulgence in a Cup: The Delightful World of Lattes and How to Craft the Perfect Cup
Introduction:
In the realm of coffee, the latte stands as an epitome of indulgence and versatility. With its luxurious layers of espresso, steamed milk, and a dollop of frothy microfoam, the latte has become a canvas for creativity and a comforting ritual for coffee enthusiasts. Join us as we delve into the essence of lattes and guide you through the art of preparing this velvety, caffeinated masterpiece at home.
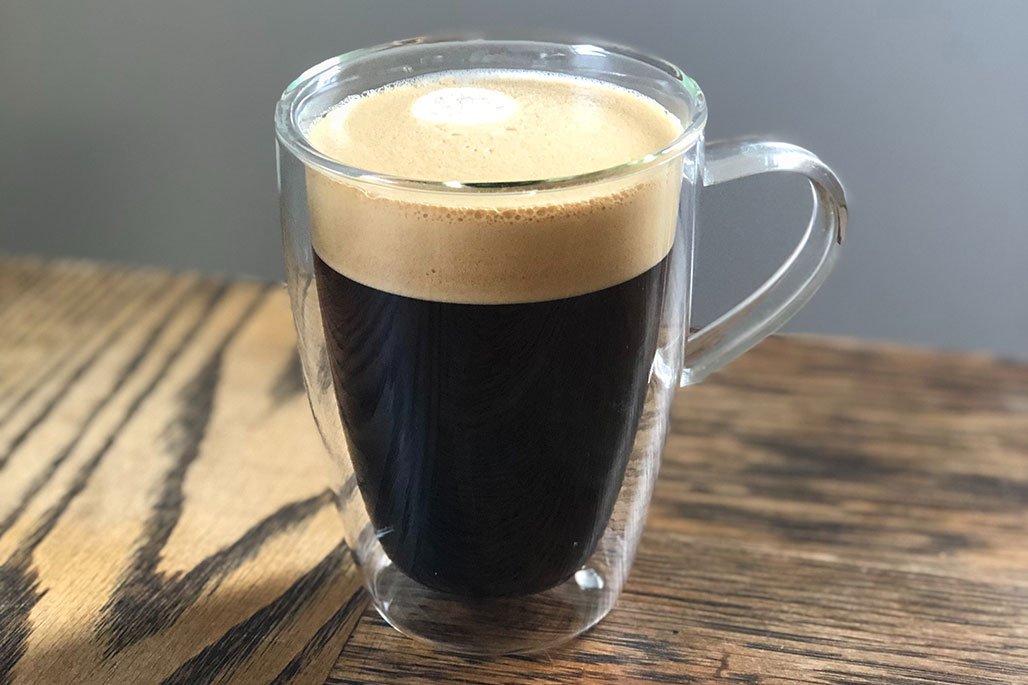
The Symphony of a Latte:
1. Espresso Elegance: At the heart of a latte lies a foundation of robust espresso. Typically, a latte is made with one or more shots of espresso, providing a strong and concentrated coffee base. The quality of the espresso plays a significant role in shaping the flavor profile of the latte.
2. Steamed Milk Sophistication: The second layer of a latte is steamed milk. The milk is steamed to a velvety texture, enhancing its sweetness and contributing to the overall richness of the drink. The goal is to achieve a luscious, creamy consistency that complements the boldness of the espresso.
3. Frothy Microfoam: What sets a latte apart is the addition of frothy microfoam. This delicate foam is created by aerating the milk, incorporating tiny bubbles that add a luxurious texture to the drink. The microfoam floats atop the espresso and steamed milk, creating an inviting canvas for latte art.
Crafting the Perfect Latte at Home:
1. Espresso Extraction: Begin by pulling one or two shots of espresso. The strength of the espresso is a personal preference, so adjust the number of shots to suit your taste. Use a high-quality coffee bean and grind it to a fine consistency for optimal extraction.
2. Steaming Milk: Steam the milk using a milk steamer or frother until it reaches a creamy and velvety consistency. The ideal temperature for steamed milk is around 150–160°F (65–71°C). Pay attention to the sound and feel of the milk while steaming – you’re aiming for a gentle, hissing sound and a smooth, velvety texture.
3. Frothing Microfoam: Create microfoam by continuing to steam the milk, focusing on incorporating tiny bubbles. The microfoam should have a smooth, glossy appearance, resembling wet paint. Pour the microfoam over the espresso and steamed milk.
4. Latte Art (Optional): For those who appreciate the visual artistry of lattes, attempt to create latte art by pouring the microfoam in a controlled manner. Common designs include hearts, rosettes, or even intricate patterns. While latte art is optional, it adds an extra layer of sophistication to your latte.
Presentation and Enjoyment:
Serve your latte in a large, pre-warmed mug. The result is a harmonious symphony of flavors – the boldness of espresso beautifully balanced by the sweetness and creaminess of steamed milk and the delightful texture of frothy microfoam.
Conclusion: A Luxurious Sip
The latte, with its layers of flavor and velvety texture, is a celebration of the finer aspects of coffee culture. Whether enjoyed as a morning ritual or an afternoon pick-me-up, crafting the perfect latte at home allows you to savor the luxurious indulgence of this classic coffee creation. So, embrace the art of latte-making, experiment with flavors, and savor the comforting elegance of a well-brewed latte.
The Americano Experience: Unveiling the Art of a Diluted Delight
Introduction
In the world of coffee, the Americano stands as a testament to simplicity and versatility. This classic beverage, born out of necessity and innovation, has become a beloved choice for coffee enthusiasts seeking a milder yet still robust flavor. Join us as we explore the origins of the Americano and guide you through the steps to prepare this delightful brew at home.
The Birth of the Americano:
The Americano’s roots trace back to World War II, when American soldiers stationed in Italy found the local espresso too strong for their taste. To adapt, they began diluting their espresso shots with hot water, creating a drink that retained the boldness of espresso while offering a milder and more approachable flavor.
The Essence of an Americano
1. Espresso as the Foundation: At its core, the Americano is an espresso-based drink. The base consists of a shot or two of espresso, providing the concentrated and intense coffee flavor that sets the stage for the Americano experience.
2. Adding Hot Water: What defines the Americano is the addition of hot water to the espresso. The ratio of water to espresso can vary based on personal preference, but a common guideline is to add equal parts water to the amount of espresso. This dilution process creates a smoother, lighter coffee profile.
Mastering the Americano Preparation
1. Choose Your Coffee Beans: Begin by selecting high-quality coffee beans. While any coffee beans can be used for an Americano, a medium roast with balanced acidity and flavor notes can enhance the overall experience.
2. Espresso Extraction: Prepare one or two shots of espresso using your preferred espresso machine. The quality of the espresso is crucial, as it serves as the foundation for the Americano’s flavor profile.
3. Hot Water: Heat water to just below boiling. The water temperature is essential, as it affects the extraction of flavors during the dilution process. Pour the hot water directly over the espresso shots.
4. Adjust to Taste: The beauty of the Americano lies in its adaptability. If you find the drink too strong, you can add more hot water. Conversely, if you prefer a bolder flavor, you can reduce the amount of water added. Experiment until you find the perfect balance for your palate.
Presentation and Enjoyment
Serve the Americano in a pre-warmed cup to maintain its temperature. The result is a beverage that retains the essence of espresso but offers a smoother, more diluted taste. Consider adding a slice of lemon or a twist of orange peel for a citrusy touch, or enjoy it black for a straightforward and clean coffee experience.
A Milder Symphony of Flavor
The Americano is a celebration of adaptability and simplicity in the world of coffee. Its roots in history and its enduring popularity are a testament to the allure of a drink that bridges the intensity of espresso with the approachability of a diluted brew. So, embark on the Americano experience, savor its nuanced flavors, and appreciate the art of finding balance in every cup.